
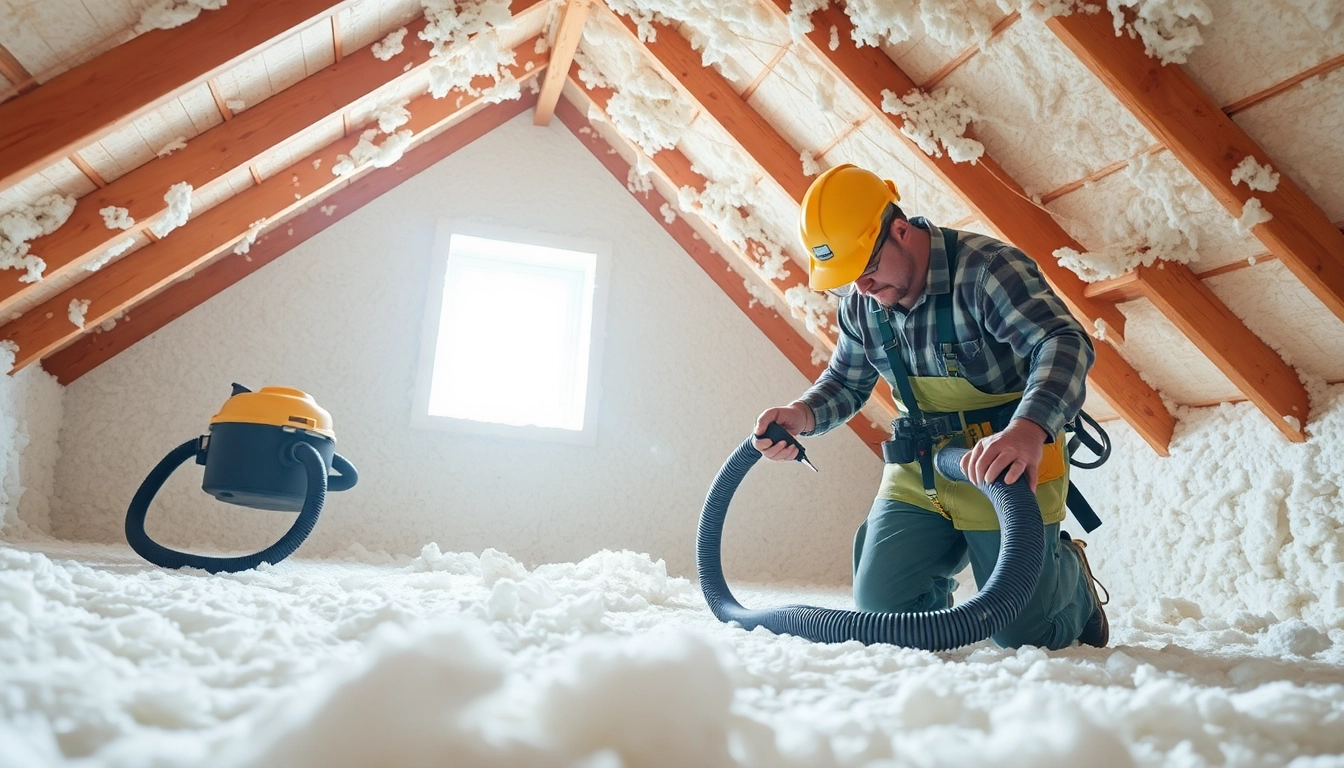
Expert Guide to Effective Spray Foam Insulation Removal Techniques
Understanding Spray Foam Insulation and Its Removal
What is Spray Foam Insulation?
Spray foam insulation is a modern insulating material made by mixing two components: isocyanate and polyol resin. When these components are combined, they form a foam that expands to fill gaps, crevices, and cavities. This exceptional material provides superior thermal insulation and air sealing properties, making it a popular choice for residential and commercial applications. Its versatility allows it to be sprayed in hard-to-reach areas, creating an effective barrier against air leaks, moisture, and pests.
Why Remove Spray Foam Insulation?
Despite its advantages, there are several reasons homeowners and builders might need to consider spray foam insulation removal. Over time, spray foam insulation may experience deterioration due to exposure to moisture or damage. It can harbor mold and mildew, posing health risks, especially for sensitive individuals. Furthermore, changes in building requirements or evolving insulation technologies may necessitate the removal of outdated or inefficient insulation materials. Finally, incorrect installation may lead to air leaks or thermal bridging, undermining the insulation’s intended benefits.
Common Issues with Spray Foam Insulation
Several common issues can arise with spray foam insulation. One significant problem is the potential for improper application, which can lead to gaps and insufficient coverage. Additionally, the chemical reaction during installation can create off-gassing, which may present health concerns if adequate ventilation isn’t maintained. Another problem is the potential for water intrusion; if moisture penetrates the foam, it can lead to mold growth and compromise the overall structural integrity. Lastly, the rigidity of spray foam can affect the materials surrounding it, leading to cracks or other damage over time.
Preparation for Spray Foam Insulation Removal
Essential Tools and Equipment Needed
Before undertaking spray foam insulation removal, it’s essential to have the proper tools and equipment. The necessary tools typically include:
- Utility knife or oscillating multi-tool for cutting through foam layers
- Heat gun to soften the foam for easier removal
- Respirator mask to protect against inhaling any air-borne particles or fumes
- Goggles to shield your eyes during removal
- Gloves to protect your hands from chemicals and sharp tools
- Plastic sheeting to contain debris and protect surrounding areas
- Trash bags or disposal container for managing waste properly
Safety Precautions to Consider
Safety should always be a priority when dealing with spray foam insulation removal. Consider these safety precautions:
- Ensure you have adequate ventilation; open windows and use fans to promote air circulation.
- Wear protective gear, including goggles, gloves, and a mask, to minimize exposure to chemicals and foam particles.
- Keep a fire extinguisher nearby, as the materials involved can be flammable.
- Have a first aid kit readily accessible in case of any injury.
- If possible, have someone assist you during the removal process to ensure safety.
Creating a Safe Working Environment
A clean and organized workspace can significantly improve the safety and efficiency of your project. Here’s how to create a safe working environment:
- Clear the area of unnecessary items to eliminate tripping hazards.
- Cover furniture and flooring with plastic sheeting to protect against debris and residues.
- Ensure that electrical tools and equipment are in safe working condition to avoid accidents.
- Establish a designated debris disposal area to keep the space tidy.
Step-by-Step Process for Spray Foam Insulation Removal
Initial Assessment and Planning
The first step in spray foam insulation removal is conducting an initial assessment of the area. This involves identifying affected surfaces and damages and checking for potential hazards, such as electrical wiring or plumbing hidden behind walls. It’s also crucial to measure the area where the insulation will be removed. Creating a clear plan will allow you to execute the removal process effectively and efficiently, minimizing risks and maximizing the project’s chances for success.
Techniques for Efficient Removal
There are various techniques to efficiently remove spray foam insulation. Start by using a utility knife or oscillating multi-tool to cut around the edges of the foam to minimize damage to surrounding materials. Depending on the foam’s thickness and adherence, you may use a heat gun to soften the foam, making it easier to peel away.
After cutting and softening, pull the foam away from the surface. For stubborn areas, a pry bar can be used with caution to avoid damaging the substrate beneath the foam. Take care to continuously assess what lies behind the foam, checking for hidden hazards, such as wiring or plumbing.
Disposal and Cleanup Guidelines
After removing the spray foam insulation, it’s crucial to clean the area thoroughly. Collect all foam scraps and debris, placing them in trash bags or your designated disposal container. As spray foam is considered construction waste, check local regulations for proper disposal methods, as it may require special handling. Use a vacuum equipped with a HEPA filter to eliminate any remaining fine particles in the environment. Finally, inspect the working area to ensure no remnants are left that could pose a hazard.
Post-Removal Considerations
Inspecting for Damage After Removal
Once the insulation has been removed, inspect the underlying materials for any damage. Look for signs of mold, wood rot, or water damage that may have been concealed beneath the foam. Damaged structures should be repaired before new insulation is installed, addressing any compromised materials to prevent further issues in the future. By tackling these repairs upfront, you ensure your new insulation will be effective and safe.
Evaluating Alternatives to Spray Foam
After the removal process, consider your alternatives to spray foam insulation. Options include traditional fiberglass batts, cellulose insulation, or a newer option like mineral wool. Each alternative has its benefits and drawbacks in terms of R-value, cost, and ease of installation. Take the time to evaluate the benefits of each type based on your specific needs, contract requirements, and energy-efficiency goals.
Restoration of Insulation and Finishing Touches
Once you’ve evaluated alternatives and selected your desired insulation type, it’s time to install the new material. Ensure you follow manufacturer guidelines for installation and take care to seal any gaps and voids. After installing the new insulation, restore the walls or ceilings by repairing any surface damage caused during the removal process and consider finishing with paint or drywall as needed. This final step not only enhances aesthetics but also restores the functionality of the space.
FAQs about Spray Foam Insulation Removal
What should I include in my preparation?
Include safety gear, essential tools (like gloves and masks), and plastic sheeting to protect the workspace. Also, assess the area to identify potential hazards before removing the insulation.
How long does the removal process take?
The duration of the removal process can vary based on the area size and insulation condition, typically ranging from a few hours to a full day.
Can I remove spray foam insulation myself?
Yes, if you have the right tools, safety equipment, and experience, you can remove spray foam insulation yourself. However, for extensive projects, hiring a professional may be advisable.
What safety gear do I need?
You will need a respirator mask, safety goggles, gloves, and protective clothing to avoid inhaling chemicals and protect against physical injuries during removal.
What are the costs associated with professional removal?
Professional removal costs can vary depending on the project size and complexity, typically ranging from a few hundred to several thousand. It’s best to obtain multiple quotes for an accurate estimate.